To remove an adjustable blade from a clipper:
Remove the two blade screws from the blade set. You will want to do this carefully because once the blades have loosened, they will want to fall away. Remove both of the blades from the clipper.
To attach an adjustable blade to a clipper:
Take your new blade set and align the new blades on the clipper. The top blade (the smaller blade) goes on the clipper first and then the bottom blade (the large blade with the blade sizes) goes next. Insert the blade screws and tighten into place.
To oil your adjustable blade:
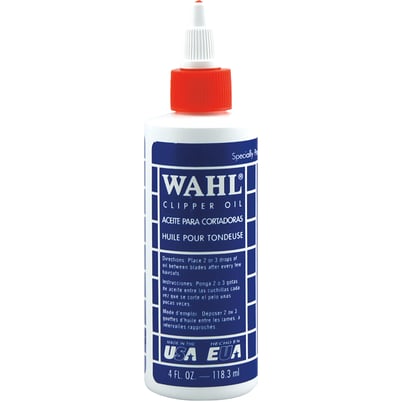
Properly oiling your blades helps prevent wear, keeps them sharp, and helps them stay cool throughout clipping. Use your Wahl Blade Oil to place five drops of oil throughout your blade set - three drops of oil across the blade teeth and one drop on each side of the blade set where the top and bottom blades come together. After oiling, turn your clipper on to allow the oil to distribute evenly. Wipe away any excess oil (after turning your clipper back off, of course. Safety first!). It is important to clean and oil your blades after each use.
Wahl's standard adjustable blade features three blade settings - #30-#15-#10 - for quick and convenient grooming. This blade is used with Wahl's U-Clip, U-Clip Deluxe, Pro Ion, Show Pro Plus, and Iron Horse clippers. Other adjustable size options include: #40-#30, #30-#15-#10 Wide, and #9-#8.


